Are you ready to take your entertainment setup to the next level?
If you’ve got a Roku Express and a projector waiting to be best buds, this article is your ticket to a cinematic experience right in your living room while knowing the best uses of projectors.
Feel cozy movie nights with your favorite films, sports events on a larger-than-life screen, or binge-watching your beloved series like a pro.
But how do you connect Roku Express to the projector and turn your dreams into reality?
Fear not.
We’re here to guide you through the process, and all you’ll need is an HDMI cable and your trusty HD projections. Whether you’re a tech wizard or just learning the ropes, we’ve got you covered. Think of us as your friendly neighborhood tech gurus, ready to share our wisdom.
And hey, if you’re looking to take it a step further, we’ll even toss in some tips on how to hang a projector screen for the ultimate cinematic setup.
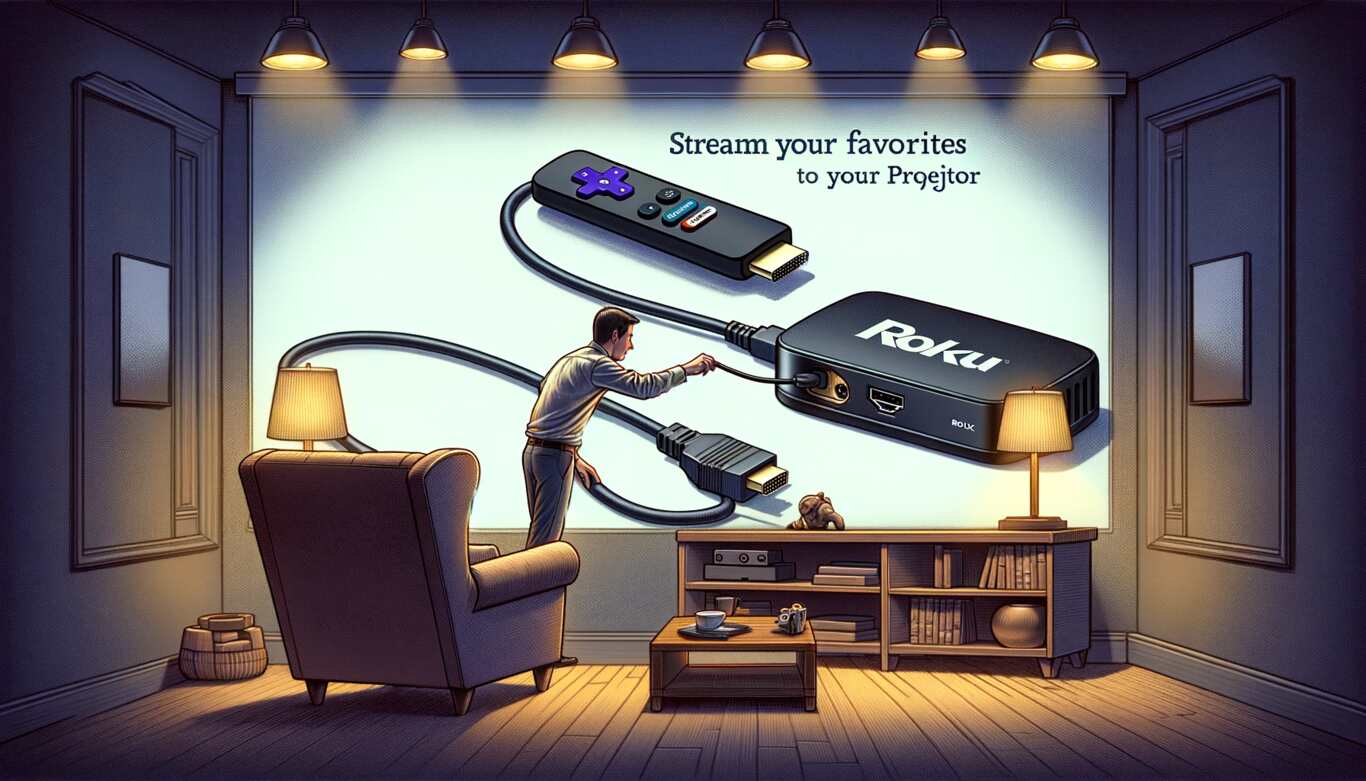
How do you connect a Roku stick to a projector?
Connecting a Roku Stick to a projector is a straightforward process that can elevate your entertainment experience and knowledge of how projectors work.
Here are some expert ways to connect a Roku stick to a projector:
Gather Your Equipment
Before you begin, ensure you have the necessary equipment:
- Roku Stick: Make sure it’s powered and ready to go.
- Projector: Ensure your projector is also powered up and connected to a display source.
- HDMI Cable: You’ll need an HDMI cable, preferably one that’s long enough to reach both the Roku Stick and the projector.
Locate HDMI Ports
Identify the HDMI port on both your Roku Stick and the projector. Most projectors have at least one HDMI input.
Connect the HDMI Cable
Insert one end of the HDMI cable into the HDMI port on your Roku Stick and the other end into the HDMI input on the projector.
Power Up
Ensure both the Roku Stick and the projector are powered on and how many watts a projector uses. If your Roku Stick requires a separate power source, connect it as well.
Select the HDMI Source
On your projector, use the remote or the control panel to select the HDMI source where you connected the Roku Stick. This is usually labeled as “HDMI 1” or “HDMI 2,” depending on the projector.
Roku Setup
Once the Roku Stick is connected, follow the on-screen setup instructions. This typically includes connecting to your Wi-Fi network and signing in to your Roku account or creating one if you don’t have it.
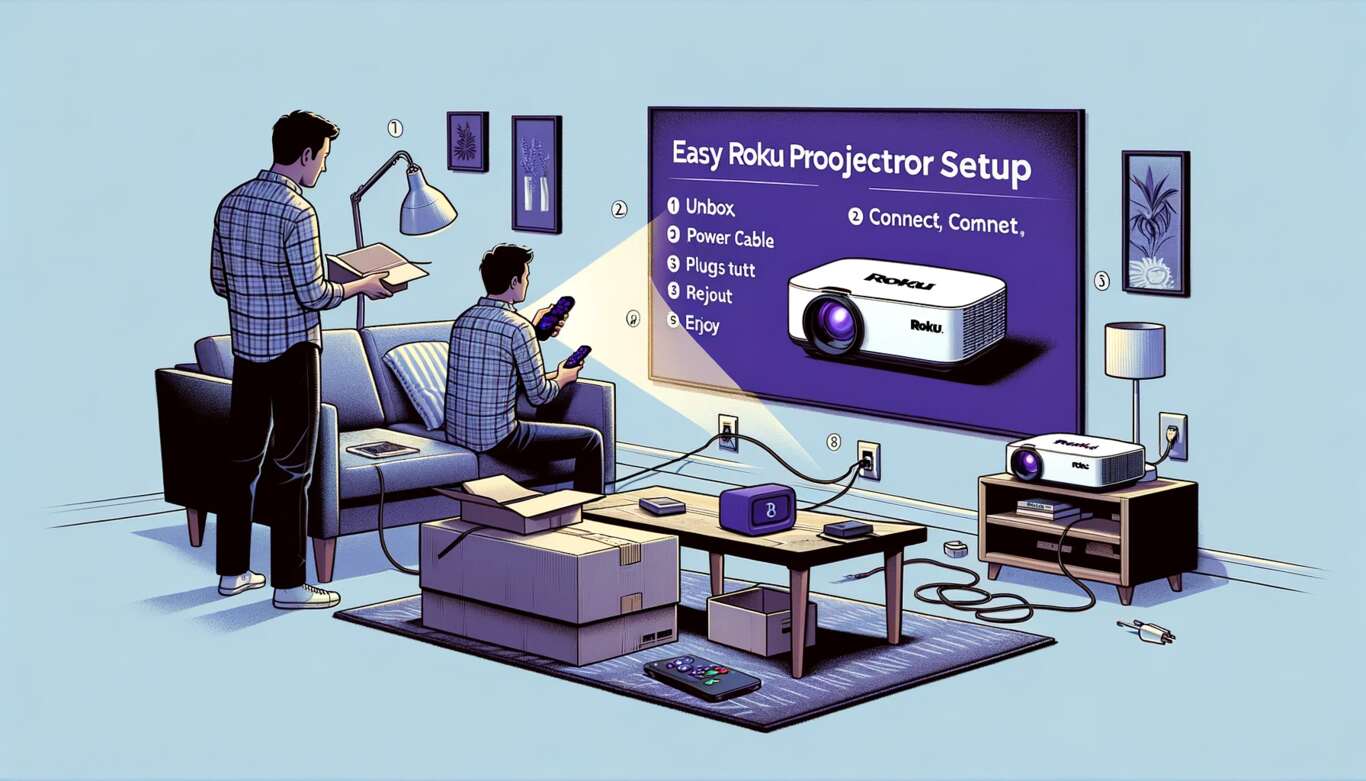
How to set up a Roku projector?
Setting up a Roku remote to control a projector involves a few simple steps to get you started on enjoying your favorite content on a wide range its pattern is similar to how to connect Xbox to the projector.
Here’s a guide to help you set up your Roku projector:
Unbox and Inspect
Begin by unboxing your Roku projector and carefully inspecting its contents to ensure everything is included and in good condition. Typical components may include the projector unit, power cables, remote control, and any necessary accessories.
Find a Suitable Location
Choose a suitable location to set up your Roku projector which is important to know about how long projectors last. Ensure there’s enough space for the projector to project a clear image onto the screen or wall. Consider factors like distance, lighting conditions, and the availability of power outlets.
Select Language and Region
Follow the on-screen instructions to select your preferred language and region for it. Use the remote control to navigate through the setup process.
Connect to Wi-Fi
To access streaming content, you’ll need to connect this projector to your Wi-Fi network. Select your network from the list of available networks and enter your Wi-Fi password if prompted.
Sign in to Your Roku Account
If you already have a Roku account, sign in using your credentials. If not, you can create a new account during the setup process.
Update Software (If Needed)
The Roku projector may check for software updates. If updates are available, allow the projector to download and install them. This ensures you have the latest features and bug fixes.
Adjust Picture and Audio Settings
Navigate to the projector’s settings menu to adjust picture and audio settings according to your preferences. You can fine-tune brightness, contrast, and audio output settings. After these, you have to remember how to clean a projector inside the lens.
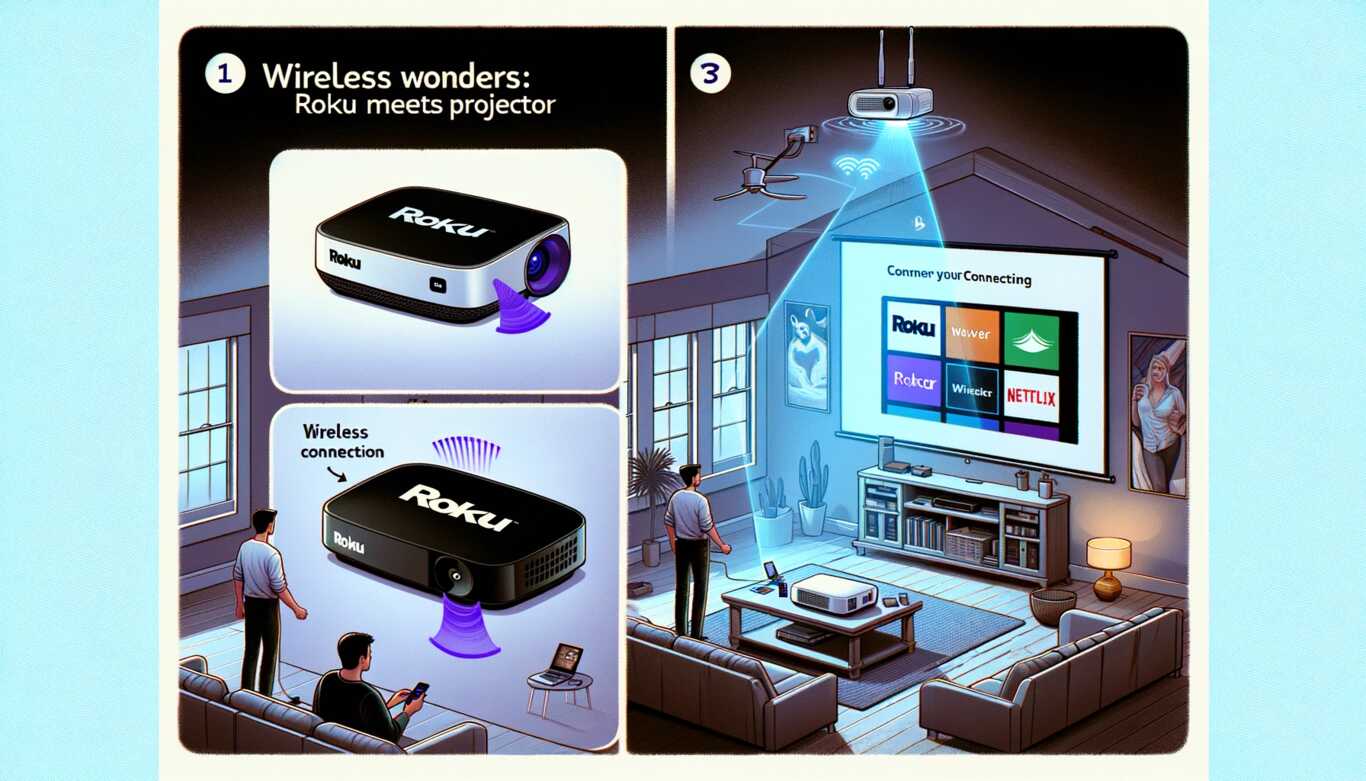
How to connect a Roku to a projector wirelessly?
Connecting a Roku to a projector wirelessly is a convenient way to enjoy streaming content without the need for cables, which helps us to know how projectors work.
To achieve this, you can use its streaming device with screen mirroring capabilities (such as Roku Streaming Stick+ or Roku Ultra) and a projector with compatible wireless connectivity (like Wi-Fi Direct or Miracast). Here’s a step-by-step guide on how to set it up:
Step 1: Check Compatibility
Ensure that your Roku device supports screen mirroring, and your projector has wireless connectivity options like Wi-Fi Direct or Miracast. Most modern Roku devices support screen mirroring, but older models may not.
Step 2: Prepare Your Roku Device
- Connect your Roku device to your TV or projector using an HDMI port.
- Power on this device and follow the initial setup process to connect it to your Wi-Fi network and sign in to your account.
Step 3: Enable Screen Mirroring on Roku
- This is a little similar to how to connect Chromecast to the projector. Go to the Roku device’s settings by pressing the home button on your Roku remote.
- Navigate to “Settings” > “System” > “Screen mirroring.”
- Select the screen mirroring mode (either “Prompt” or “Always Allow”). Choosing “Always Allow” allows any compatible device to connect without needing your confirmation each time.
Step 4: Set Up Your Projector
- Ensure your projector is powered on and connected to a power source.
- Access the projector’s settings menu and enable the wireless display or screen mirroring feature. The specific steps may vary depending on your projector’s brand and model, so consult the user manual for guidance.
Step 5: Connect Roku to the Projector
- On your Roku device, go to the home screen and open the “Settings” menu.
- Select “Screen Mirroring” and choose “Start Mirroring.”
- This device will search for available wireless display devices. When it detects your projector, select it from the list to establish the connection and you have to know, what is the contrast ratio in a projector for getting more good results.
Step 6: Start Streaming
Once the connection is established, your Roku device’s screen will be mirrored on the projector. You can now navigate through its interface and select the content you want to stream. The audio will typically play through the projector’s built-in speakers or audio output and you can also set Roku to projector no sound.
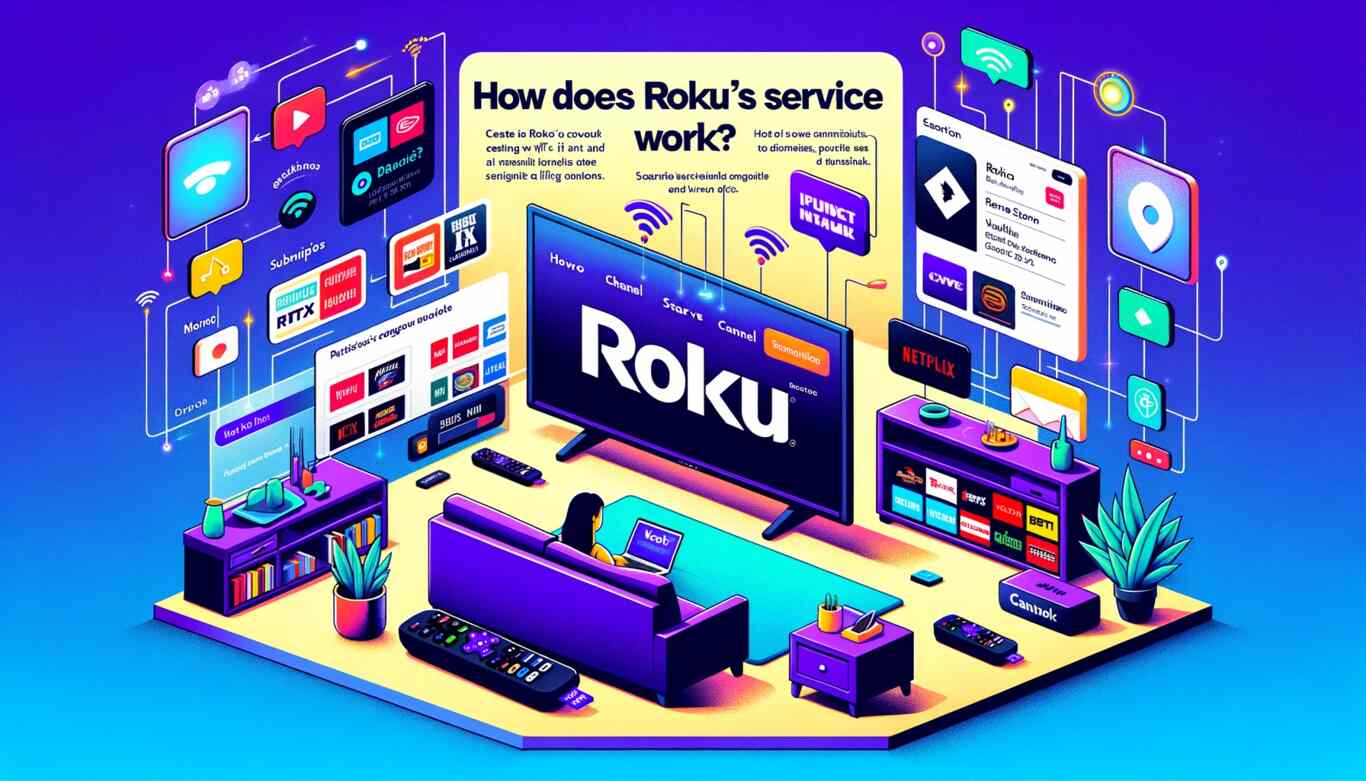
How does Roku’s service work?
It is a popular streaming platform that allows you to access a wide range of online content, including movies, TV shows, music, and more, on your television. Here’s how Roku service works:
1. Roku Device
To use Roku, you need a Roku streaming device. It offers various models, including streaming sticks, set-top boxes, and smart TVs with built-in functionality. You connect this device to your TV through an HDMI port but in the projector case, it’s good with the best daylight projector.
2. Internet Connection
A stable and high-speed internet connection is essential for it to work effectively. You’ll need a Wi-Fi network to connect your device to the internet.
3. Roku Account
To get started, you need to create a Roku account. You can do this on the Roku website. Your Roku account allows you to manage your device, add channels, and make purchases.
4. Channels and Apps
Roku provides access to a vast library of channels and apps, many of which are free, while others may require a subscription. These channels and apps include popular streaming services like Netflix, Hulu, Amazon Prime Video, Disney+, and more. You can also access free channels that offer a variety of content.
5. Channel Store
Roku has a Channel Store where you can browse and add channels to your Roku device. Some channels are pre-installed, while others you can select and install based on your preferences. Roku also offers a channel search feature to find specific content quickly.
6. Payment and Subscriptions
While many channels are free, some may require a subscription or a one-time payment to access premium content. Roku allows you to link payment methods to your account, making it easy to purchase or subscribe to channels.
7. Search and Recommendations
Roku offers a powerful search feature that allows you to search for movies, TV shows, actors, directors, and more across multiple channels. It also provides personalized recommendations based on your viewing history.
Advantages
- Projectors provide a larger and more immersive viewing experience compared to standard TVs because of the big projector screen size.
- Projectors are often more portable and can be used in various locations.
- You can use a projector for both entertainment and presentations.
- Roku offers access to a wide range of streaming channels and apps.
Disadvantages
- Projector image quality may vary based on ambient lighting and projection surface.
- Projectors may require additional audio equipment for better sound quality.
- You need adequate space for both the projector and screen.
- High-quality projectors can be expensive compared to standard TVs on behalf of LUX vs Lumens projectors.
How to Connect Roku to Projector – FAQs
Conclusion
This article has been a journey through the world of Roku projectors, shedding light on how to make this dynamic duo work seamlessly. We’ve tackled common issues such as the remote not working with the projector and the dreaded Roku to projector no sound dilemma.
Experts have shared their wisdom, guiding you through the setup process and ensuring you get the best out of your entertainment system. We’ve also explored the intriguing realm of ANSI Lumens vs. Lumens, demystifying the technical jargon to help you make an informed choice.
So, whether you’re a tech aficionado or just starting your Roku projector journey forget about are projectors better for your eyes, remember, this article is your trusted companion, ready to brighten your entertainment experience.