Are you tired of that annoying smudge on your BenQ projector lens? It happens to the best of us. Whether it’s a fingerprint, dust, or other mysterious marks, a smudged lens can impact your viewing experience and the use of projectors.
But fear not! We’ve got you covered with a natural and simple solution on how to clean your BenQ projector lens.
Projectors are fantastic devices for movies, presentations, and gaming, but a dirty lens can blur your image and reduce clarity. Cleaning the lens is crucial to keep your visuals sharp and vibrant through ANSI Lumens vs. Lumens.
In this guide, we’ll walk you through the process of cleaning your BenQ projector lens, making it look like new again. You don’t need to be a tech expert or use fancy equipment.
With a few easy steps and some everyday items, you can say goodbye to that frustrating smudge and enjoy crystal-clear projections. Let’s get started!
Can you clean the projector lens with alcohol?
Yes, you can clean a projector lens with alcohol, but it’s essential to do it carefully and with the right type of alcohol. Isopropyl alcohol (at least 90% concentration) is commonly used for cleaning lenses. Here’s how to do it:
- Power Off: First, turn off and unplug the projector to ensure your safety during the cleaning process.
- Prepare a Soft Cloth: Use a microfiber or lens-cleaning cloth. Never use abrasive materials like paper towels, as they can scratch the lens.
- Apply Alcohol: Moisten a small section of the cloth with isopropyl alcohol. Do not spray the alcohol directly onto the lens.
- Gentle Wipe: Gently wipe the lens in a circular motion from the center outwards. Avoid applying excessive pressure, as this could damage the lens coating.
- Dry Cloth: Use the dry part of the cloth to remove any remaining alcohol residue and ensure the lens is completely dry.
How to clean the projector lens from the outside?
Cleaning a projector lens from the outside is a critical maintenance task to ensure optimal image quality and how long projectors last of your equipment. It’s essential to perform this task professionally and with care to avoid any damage to the lens or the projector itself. Here’s a step-by-step guide:
- Lens Cleaning Solution
Use a specialized lens cleaning solution designed for delicate optical surfaces. Avoid household cleaners, as they may contain chemicals that can damage the lens coating.
- Lens Cleaning Tissues or Microfiber Cloth
Opt for high-quality, lint-free lens-cleaning tissues or a microfiber cloth. These materials are gentle on the lens and won’t leave behind scratches or residue.
- Air Blower
An air blower or canned air can be used to remove loose dust and debris before cleaning the lens.
Step 1: Power Off and Unplug the Projector
Before you begin cleaning the projector lens, ensure that the projector is powered off and unplugged from any power source. This is a critical safety precaution to prevent accidental injury and damage to the equipment.
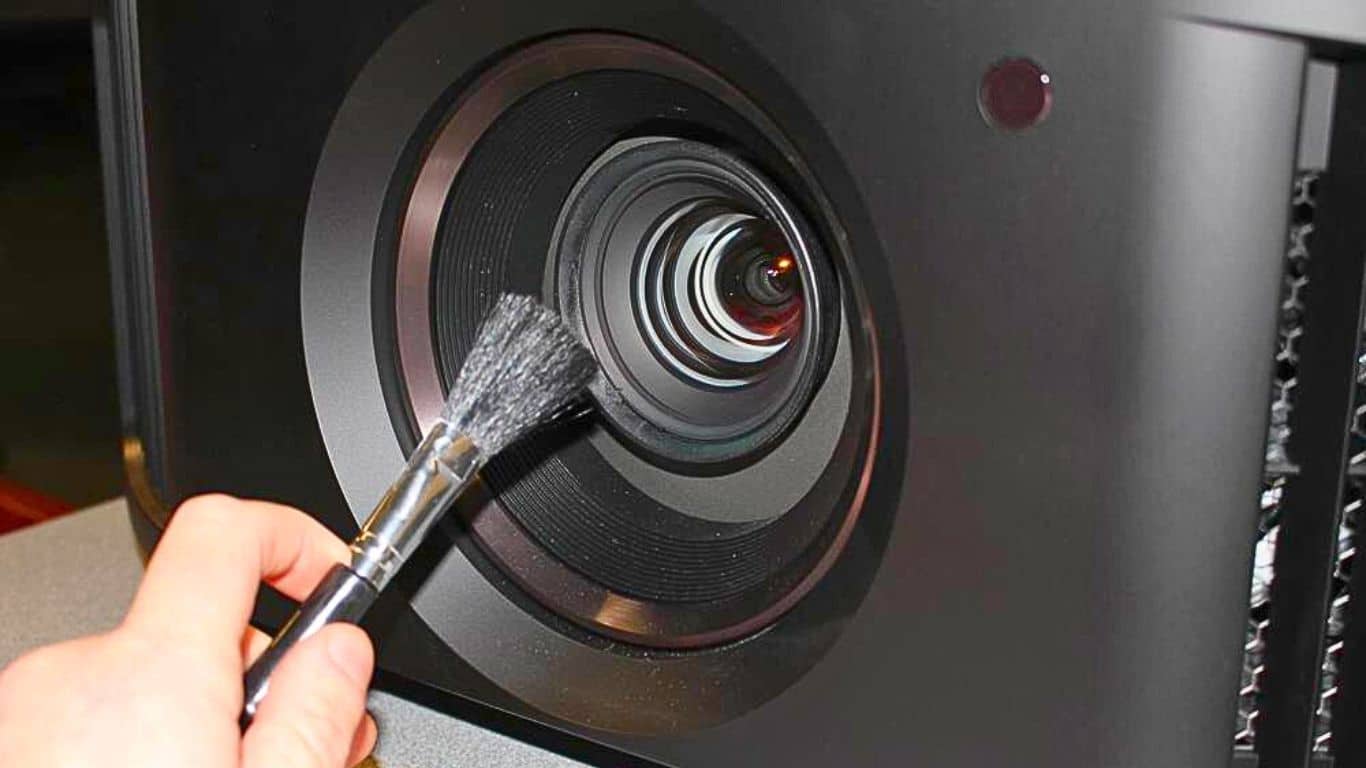
Step 2: Remove Dust and Debris
Use an air blower or canned air to blow away any loose dust and debris from the projector lens. This step is crucial to prevent scratching the lens during the cleaning process.
Step 3: Apply the Lens Cleaning Solution
Place a few drops of the specialized lens-cleaning solution on a clean, lint-free lens-cleaning tissue or a microfiber cloth. Be cautious not to oversaturate the cloth, as excess liquid can seep into the projector and cause damage.
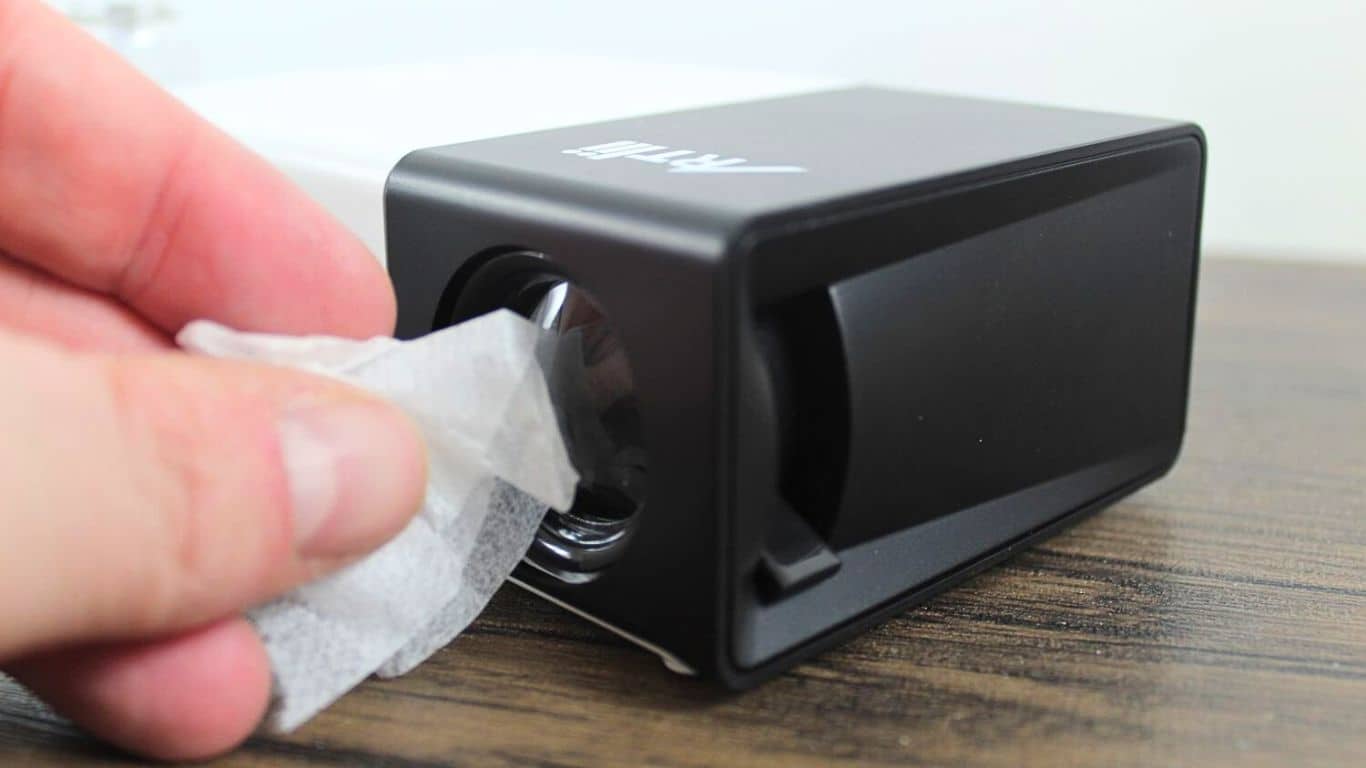
Step 4: Wipe the Lens Gently
Gently and in a circular motion, wipe the projector lens from the center outward. Do not press too hard; the goal is to remove smudges and dirt without causing any damage. Avoid using excessive force, as this may scratch the lens or cause misalignment.
Step 5: Repeat if Necessary
If the lens is still not clean after the first wipe, you can apply a few more drops of the cleaning solution to the cloth and repeat the process. Ensure that the cloth or tissue remains clean and free from debris during each wipe.
Step 6: Dry the Lens
After cleaning, use a dry section of the lens cleaning tissue or a different microfiber cloth to gently remove any remaining cleaning solution. The lens should be completely dry and free from streaks or residue.
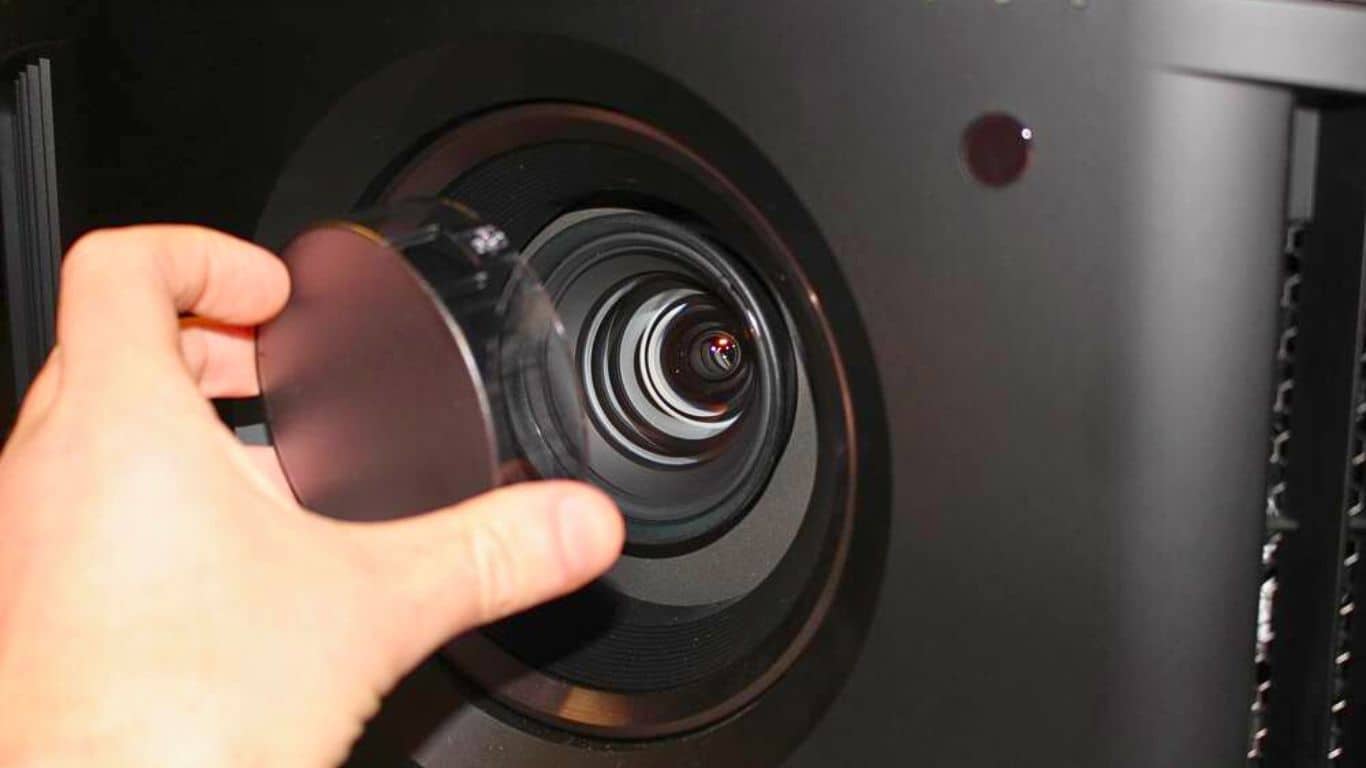
Step 7: Inspect the Lens
Carefully inspect the lens for any remaining marks or smudges. If necessary, repeat the cleaning process using the same gentle circular motion technique.
Step 8: Reassemble the Projector
Once you’re satisfied with the cleanliness of the lens, reassemble any parts or covers that were removed for access. Ensure that all connections are secure.
Step 9: Power on the Projector
After confirming that the lens is clean and the projector is reassembled correctly, power on the projector and check how the projector works. It should now be sharp and clear, free from any obstructions.
How to clean the headlight projector lens from the inside?
Cleaning the inside of a headlight projector lens is a more complex and delicate task compared to cleaning the exterior. This process is typically reserved for advanced automotive maintenance and is often done when condensation, dirt, or other issues affect the projector’s performance. Here’s a step-by-step guide to cleaning the inside of a headlight projector lens:
1. Ensure Safety
Ensure your vehicle is parked in a safe and well-ventilated area.
Turn off the vehicle’s engine and headlights.
2. Access the Headlight Assembly
Consult your vehicle’s service manual to learn how to access the headlight assembly, as the process varies between car makes and models.
This typically involves removing the headlight from the vehicle, which may require removing the front bumper, wheel well liners, or other components.
3. Disassemble the Headlight Housing
After accessing the headlight assembly, you may need to disassemble it to access the projector lens. This often involves removing screws, clips, or other fasteners.
4. Remove the Projector Lens
Carefully remove the projector lens from the housing. Be cautious not to damage any wires or connectors.
In some cases, you may need to bake the headlight assembly in an oven to soften the sealant before removing the lens.
5. Clean the Inside of the Lens
Use a specialized headlight lens cleaning solution and a soft microfiber cloth to clean the inside of the lens. Avoid using household cleaners or abrasive materials.
Be extremely gentle and avoid scratching the lens.
6. Address Condensation
If you are cleaning the lens due to condensation issues, inspect the seals and gaskets inside the housing. Replace any damaged or worn-out parts. You must know how to hang a projector screen.
Ensure the housing is dry before reassembling.
7. Reassemble the Headlight
Reassemble the headlight assembly in the reverse order of disassembly, ensuring all parts are properly aligned.
Use a new sealant to reseal the headlight housing, if required.
8. Test the Headlight
Before finalizing the reassembly, test the headlight to ensure it functions correctly. Check for condensation, proper alignment, and beam pattern about how many watts a projector uses.
9. Reinstall the Headlight
Reinstall the headlight assembly onto your vehicle, following the vehicle-specific instructions.
10. Aim and Align the Headlights
After reinstallation, it’s important to aim and align the headlights properly. Improper alignment can affect visibility and blind other drivers.
Cleaning the inside of a headlight projector lens is a complex process that may require specialized tools and knowledge especially do projectors have blue light. If you’re unsure about any step or have concerns about damaging your vehicle’s headlights, it’s best to seek professional assistance from an automotive technician or headlight restoration specialist.
Maintenance Tips
- Regularly clean the lens to prevent a buildup of dirt and smudges.
- Avoid touching the lens with your fingers, as natural oils can leave fingerprints that are difficult to remove.
- Store the lens cleaning solution and materials in a clean, dust-free environment.
- If you are unsure about cleaning the lens, consult the projector’s user manual or seek professional servicing.
How to Clean a Projector Insides Lens – FAQs
Conclusion
Maintaining a clean projector lens is a critical aspect of projector care, ensuring optimal image quality and performance. This article consists of both expert advice and personal experiences, offering valuable insights into the art of lens cleaning. From using the right materials to understanding the intricacies of cleaning both the exterior and interior of the lens, we’ve covered the essentials.
By following the professional guidelines provided here, you can confidently maintain your projector’s lens, keeping your presentations, movies, and visuals crisp and clear. You can easily understand our projectors better for your eyes.
Remember that the frequency of cleaning may vary based on your environment, so regular inspections are key. Armed with this knowledge, you can now start your lens-cleaning journey with confidence, safeguarding your projector investment for years of vivid displays.