When it comes to creating a cinematic experience right in your living room, screens play a crucial role. Have you ever wondered about the differences between anamorphic screens and flat screens? Or perhaps, you’re curious about the battle between DLP and LCD projectors?
Well, my friend, you’re in the right place!
If you’re all set for a movie night with your friends, popcorn in hand, and excitement in the air. But the big question is, which screen should you choose to make the most of this movie night?
Is it the curved screen vs. flat that’s been getting all the buzz lately, or should you stick with the trusty old flat screen? These both have different values of ANSI Lumens vs. Lumens to give amazing results.
In this article, we’re diving deep into the world of screens and projectors. We’ll break down the differences between anamorphic and flat screens, and explore the battle between screens formations. By the end, you’ll have all the knowledge you need to make an informed decision for your next movie night extravaganza.
So, grab your favorite seat, and let’s get started!
What to know when shopping for a projector screen?
Here we selected some important points to know for buying the best projector screen according to your needs. Focus on the following features:
Screen Size Selection
Size truly matters in the world of projector screens. Measure your available wall space and determine how large a screen you can comfortably fit. Also, consider your viewing distance; you want a screen size that provides an immersive experience without straining your neck.
Screen Type Matters
When you’re on the hunt for the perfect projector screen, the first decision to make is the type of screen you want. Options include fixed-frame, retractable, motorized, and portable screens. Consider your space, usage, and budget when choosing.
Aspect Ratio
Projector screens come in various aspect ratios, with 16:9 and 2.35:1 being the most common. Choose the aspect ratio that best suits your content; 16:9 is great for movies and gaming, while 2.35:1 is ideal for cinematic widescreen experiences.
Screen Material
The screen material can significantly impact how long projectors last. Options like white matte, gray, and acoustically transparent screens cater to different needs. Consider your room’s lighting conditions and audio requirements.
Installation Options
Think about where and how you’ll install the screen. Fixed-frame screens provide a sleek, permanent setup, while motorized screens offer convenience. Portable screens are great for flexibility.
Budget and Quality
Projector screens come in various price ranges. While it’s tempting to opt for the cheapest option, invest in a quality screen within your budget to ensure a better viewing experience and longevity.
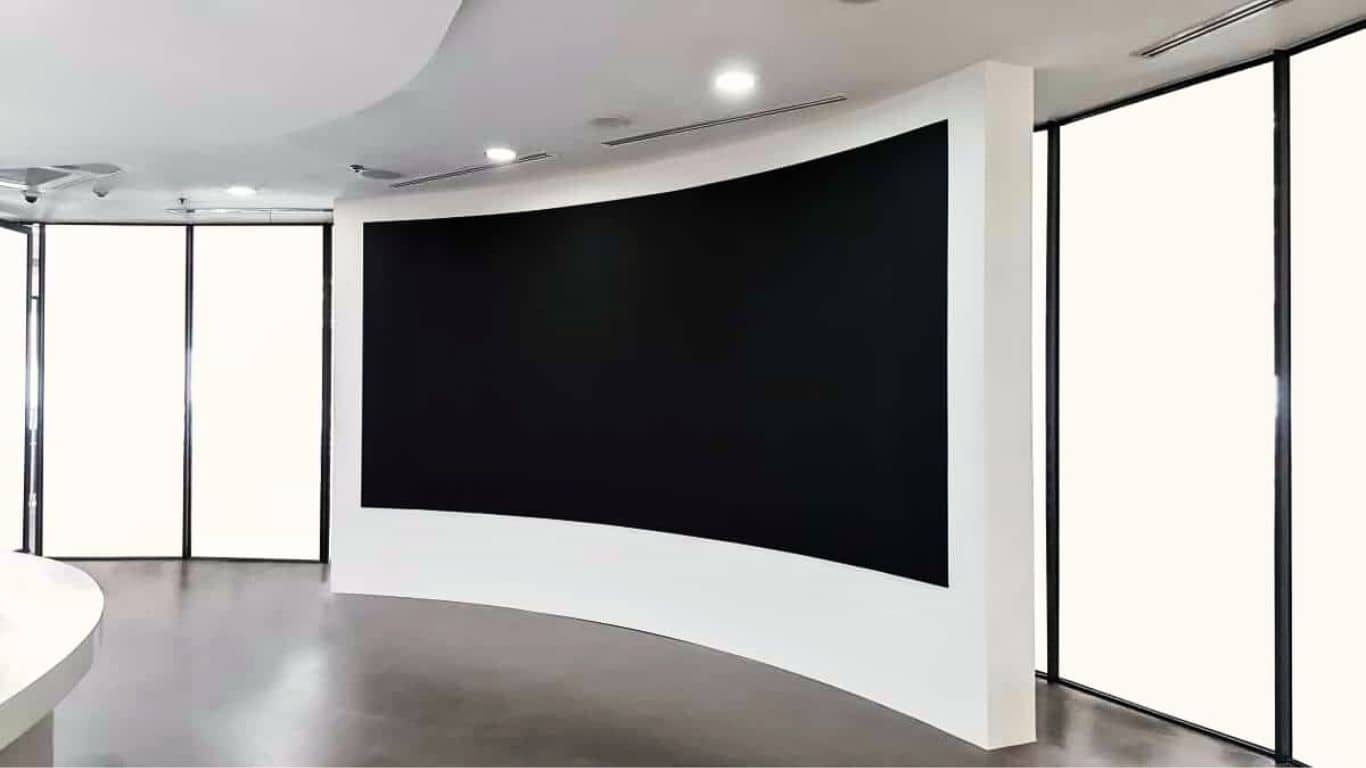
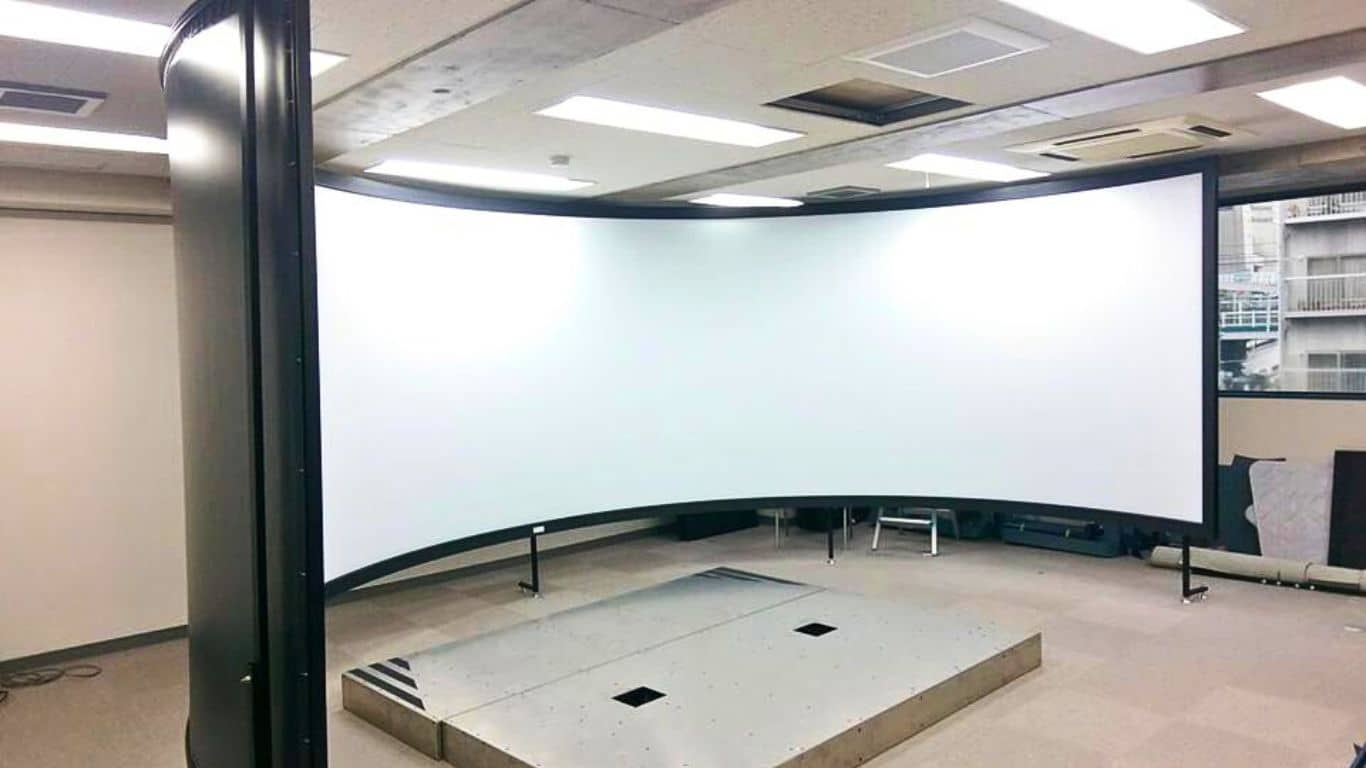
What is a curved projector screen?
A curved projector screen is a specialized type of projection surface that is gently curved inward, typically in a concave shape. This curvature differs from the traditional flat projector screens.
The primary purpose of a curved projector screen is to enhance the viewer’s visual experience, particularly in home theaters and commercial cinema settings.
Here’s a breakdown of what a curved projector screen is and why it’s used:
Curvature
The screen’s surface is curved in such a way that it slightly wraps around the audience, creating a more immersive and engaging viewing experience. The curve is subtle and designed to match the natural curvature of human peripheral vision which shows how projectors work.
Minimized Distortion
One of the main benefits of a curved screen is its ability to minimize image distortion, especially when using ultra-wide or anamorphic projection formats. It helps maintain consistent brightness and sharpness across the entire screen, reducing the so-called “pincushion effect” that can occur on flat screens.
Optimized Viewing Angle
The curve redirects light toward the audience, ensuring that viewers seated at extreme angles have a better and more uniform viewing experience. This eliminates the need for viewers to sit directly in front of the screen to enjoy the best image quality.
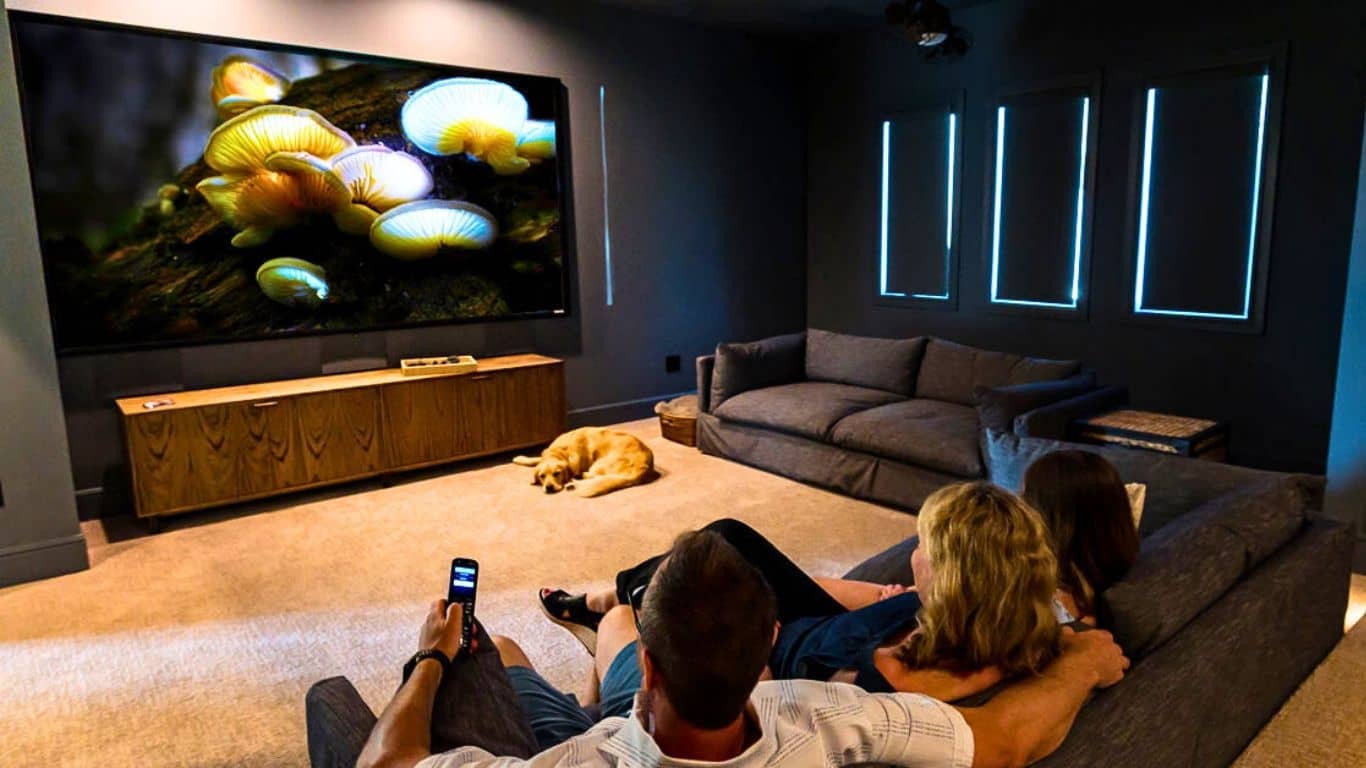
Enhanced Immersion
The curvature of the screen creates a sense of depth and immersion, making it ideal for large-screen home theaters or commercial cinema installations of LUX vs. Lumens projectors. It can make you feel like you’re right in the middle of the action, enhancing the overall cinematic experience.
Considerations
While curved screens offer advantages in specific situations, they may not be necessary for every projection setup. They are most beneficial when used with certain projector types, such as ultra-short-throw or anamorphic projectors. Additionally, curved screens are typically more expensive than flat screens and require careful installation to ensure the curvature is just right.
How to make a curved projector screen?
Creating a curved projector screen can be a rewarding project for those looking to enhance their home theater experience. Here’s a step-by-step guide on how to make a curved projector screen:
Materials Needed
- Projector Screen Material
Start with a roll of projector screen fabric. You can find this in various sizes and materials designed for different types of projectors.
- Frame Material
You’ll need a sturdy frame to give the screen its curved shape. PVC pipes or aluminum tubing are commonly used for this purpose.
- Measuring Tools
A measuring tape, level, and a marker will help ensure accurate dimensions and alignment.
- Saw and Connectors
Depending on the frame material you choose, you’ll need a saw to cut the pipes/tubing to the right lengths and connectors to join them.
- Eye Care Technology
Consider incorporating eye care technology into your setup. Some projectors have built-in features like blue light reduction and flicker-free projection to reduce eye strain.
- HDMI Hub
If your projector and media sources use HDMI connections, an HDMI hub can help manage multiple inputs efficiently.
- Image Source
Of course, you’ll need a projector capable of producing high-quality images. Choose one with the desired aspect ratio for your curved screen.
Steps
Measure and Plan
Decide on the size and curvature of your screen. Consider the aspect ratio you want, which should match that of your projector. Measure and mark the dimensions on the screen material.
Frame Construction
Build the frame by cutting the pipes or tubing to the required lengths and connecting them using connectors. Ensure that the frame is sturdy and can maintain the desired curvature.
Attach the Screen Material
Carefully attach the projector screen fabric to the frame. Stretch it evenly, starting from the center and working your way outwards. Use clips or adhesive, depending on the type of screen material.
Calibrate Your Projector
Connect your projector to the HDMI hub if needed and place it at the correct distance and angle for your screen. Adjust the image settings, aspect ratio, and focus to fit the curved surface.
Eye Care Settings
Activate the eye care technology on your projector if available which decides whether it is better for your eyes. This will help reduce eye strain during extended viewing sessions.
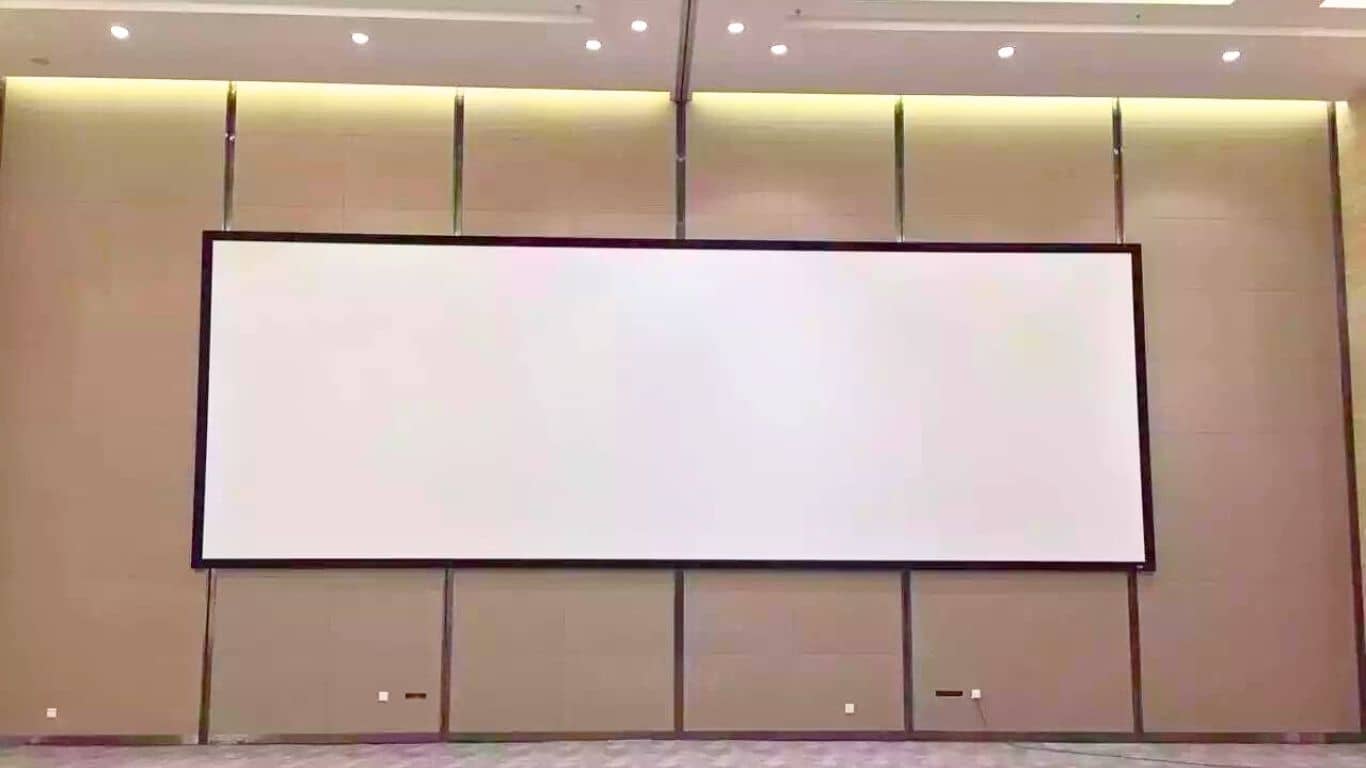
What is a Flat Projector Screen?
A flat projector screen is a traditional projection surface that lacks any curvature. It is essentially a planar, rectangular screen that provides a flat and even surface for projecting images or videos.
Here’s a more detailed explanation of flat projector screens from an expert perspective:
Design and Construction
A flat projector screen is typically constructed with a rigid frame that holds a flat screen material tightly in place.
This screen material can vary and may include options like white matte, gray, or acoustically transparent surfaces. The frame is designed to ensure that the screen’s surface remains taut and smooth, free from wrinkles or distortions.
Versatility
Flat projector screens are known for their versatility. They come in various sizes and aspect ratios, making them suitable for a wide range of applications, from home theaters to conference rooms and classrooms.
The flat design of WQHD vs. QHD allows for easy wall or ceiling mounting, making them a popular choice for both permanent and temporary setups.
Aspect Ratios
Flat screens are available in different aspect ratios, with the most common being 16:9 for standard high-definition content and 4:3 for older formats. Some screens also support ultra-wide aspect ratios like 2.35:1, catering to specific cinematic preferences.
Ease of Installation
Installing a flat projector screen is relatively straightforward compared to TV screens. It requires mounting the frame securely on a wall or ceiling and attaching the screen material. The flat surface makes it easier to align with the projector’s image and maintain consistent picture quality.
Affordability
Flat projector screens are often more budget-friendly compared to curved screens. They offer excellent value for those seeking a quality projection surface without the added complexity and cost associated with curved screens.
Application Flexibility
Whether you’re hosting a movie night at home, conducting a business presentation, or teaching in a classroom, a flat projector screen can adapt to various settings and projection needs. Its neutral, flat surface provides a reliable canvas for displaying images and videos.
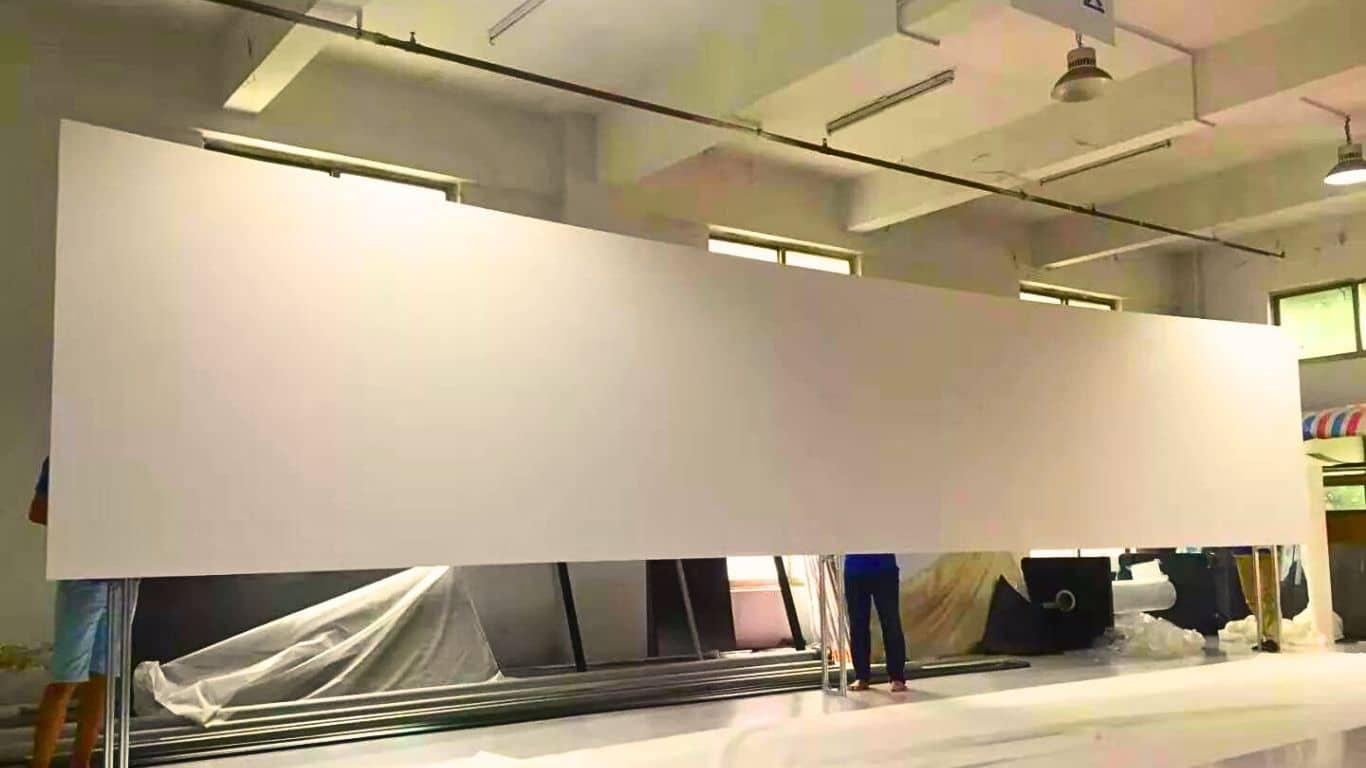
How to make a flat projector screen?
Creating a flat projector screen involves several key steps to ensure optimal image quality and compatibility with your projector. Let’s go through the process, considering factors like aspect ratio, screen material, and projector specifications:
Materials Needed
- Projector Screen Material
Choose between a grey or white screen material based on your preferences and room conditions. Grey screens enhance contrast in high-ambient-light environments, while white screens provide brighter images in darker settings.
- Frame Material
You’ll need materials for the screen frame, which can be wood, aluminum, or PVC pipes. Ensure the frame is sturdy and can support the screen material.
- Screen Material Dimensions
Select the dimensions of your screen material based on the desired aspect ratio and screen size. Common aspect ratios are 16:9 (standard HD) and 16:10, but they can vary depending on your projector’s native resolution.
Steps
Determine Aspect Ratio
Decide on the aspect ratio of your flat projector screen. Ensure it matches your projector’s native resolution. For example, 1280×720 and 1920×1080 projectors are both 16:9 aspect ratio, so a 16:9 screen is suitable.
Screen Material Selection
Choose a screen material that complements your projector’s brightness. Grey screens are ideal for environments with ambient light, enhancing contrast. White screens are suitable for darker rooms and provide brighter images.
Frame Construction
Build the frame using your chosen materials. Measure and cut the frame components to the desired screen size. Assemble the frame, ensuring it’s square and sturdy. Consider adding bracing for additional support.
Attach the Screen Material
Carefully attach the screen material to the frame. Start at one end and stretch the material evenly across the frame, securing it with staples, clips, or adhesive. Ensure the material is taut and free of wrinkles.
Optimize Brightness
Adjust your projector’s brightness and contrast settings to suit the screen material. Grey vs. white projector screens have different brightness ranges which may need lower settings in darker rooms and higher brightness in the daytime.
Lens Systems and Projection Distance
Position your projector at the correct distance and angle to achieve the desired image size and focus. Ensure the projector’s lens system is aligned with the center of the screen for a crisp and centered image.
Calibration
Calibrate your projector to match the screen’s aspect ratio and resolution. This ensures the projected image fits perfectly on the flat screen without distortion.
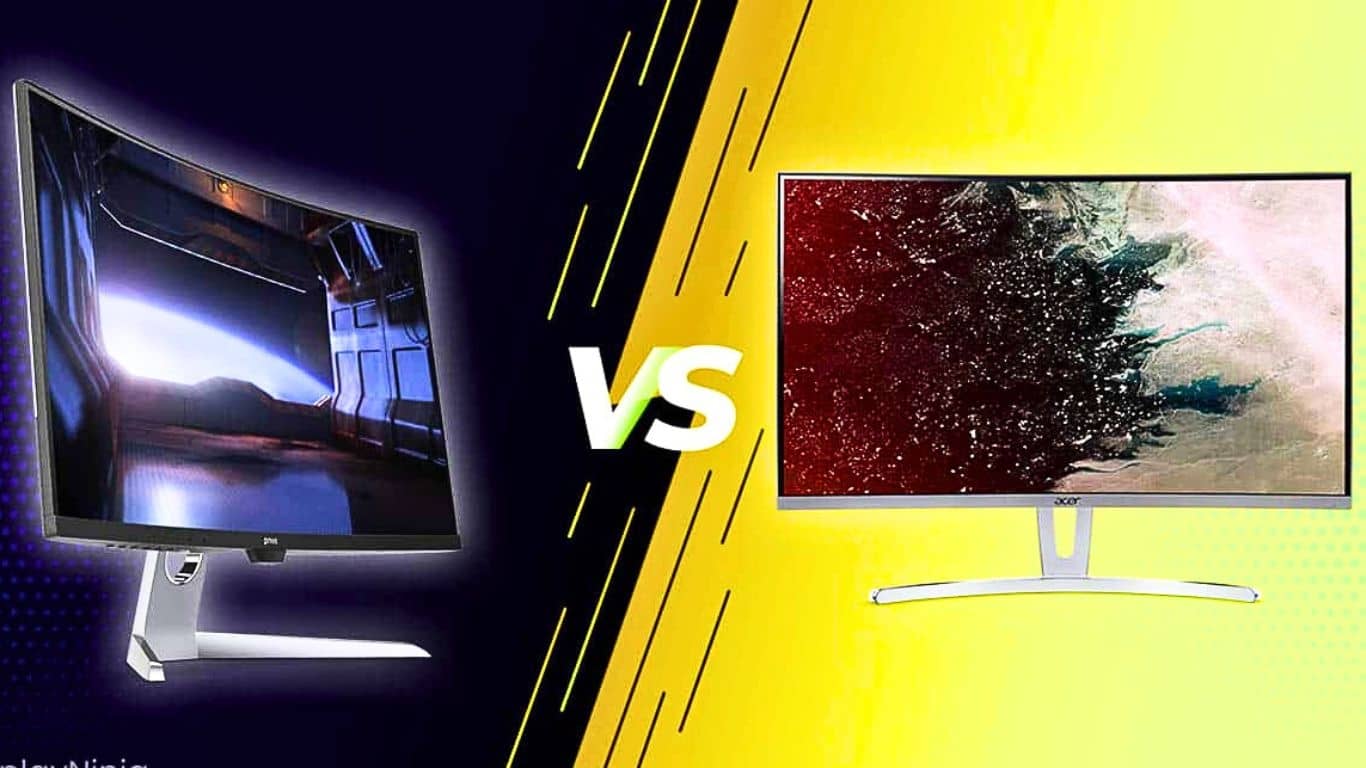
Which is the best screen curved vs. flat – Different Scenarios
The choice between a curved and flat projector screen depends on your specific needs and the characteristics of your viewing environment.
Curved Screen
Curved screens are ideal when creating a dedicated home theater experience with a large projector setup. They excel in scenarios where:
- You want an immersive viewing experience, especially for ultra-wide or anamorphic projection formats.
- Your seating arrangement allows viewers to be centered and relatively close to the screen.
- You’re willing to invest in a higher-end setup and don’t mind the added cost.
Flat Screen
Flat screens are versatile and practical for various settings, making them the best choice in many cases:
- For general-purpose projection needs, such as home entertainment, presentations, and classrooms.
- In rooms with flexible seating arrangements or limited space, viewers sit at various angles.
- When cost-effectiveness and ease of installation are priorities.
Curved Projector Screen Vs Flat – FAQs
Conclusion
The choice between a curved and flat projector screen ultimately depends on your specific needs and preferences. If you’re aiming for a dedicated home theater with an immersive experience and have the budget to invest, a curved screen can be an excellent choice, especially for ultra-wide content.
However, for most general-purpose projection needs, a flat screen offers versatility and cost-effectiveness which can maintain better uses of projectors. It adapts to various settings, making it a practical choice.
In my experience as an expert, I’ve found that the Elite Screens Sable Frame Series strikes a balance between quality and affordability for flat screens. It’s easy to install and provides an excellent canvas for high-quality projections, making movie nights and presentations truly enjoyable.