If you’ve bought a projector screen for your home to enjoy your favorite movies and shows on the big screen and looking for a way to install them, So yes you’ve come to the right place.
Today, with online streaming services bringing out new shows and movies every other day, there is no better way to enjoy them from the comfort of your own home, especially through a home theater system. With that thing in mind, Projector Screens are the best option.
Mounting a projection screen or a portable LED projector gives you a feeling of a theatre at home. And the best thing is that you don’t need any extra space in your home as it mounts on the wall or on the ceiling.
But installing a projector screen on the ceiling should only be reserved for special cases. This style of installation usually works best when the screen you are attempting to install boasts of a large black border at the top, and it can be adjusted.
Before installing the projector screen, be sure to take measurements of the screen and the vertical offset of the projector. In this article, you can find out how to install a projector screen and then you can enjoy your favorite film on it.
How Far Should My Projector Be From The Screen?
The projection distance of a projector indicates how close or far from the screen the projector can be mounted. If you mount the projector too close to the wall, the projected image will be too small. If you mount it too far, the image will be too big.
Fortunately, almost all modern projectors have a zoom setting that allows you to adjust the size of the image without moving the projector closer to or farther from the screen. This gives you great flexibility in determining the correct wall clearance for your projector.
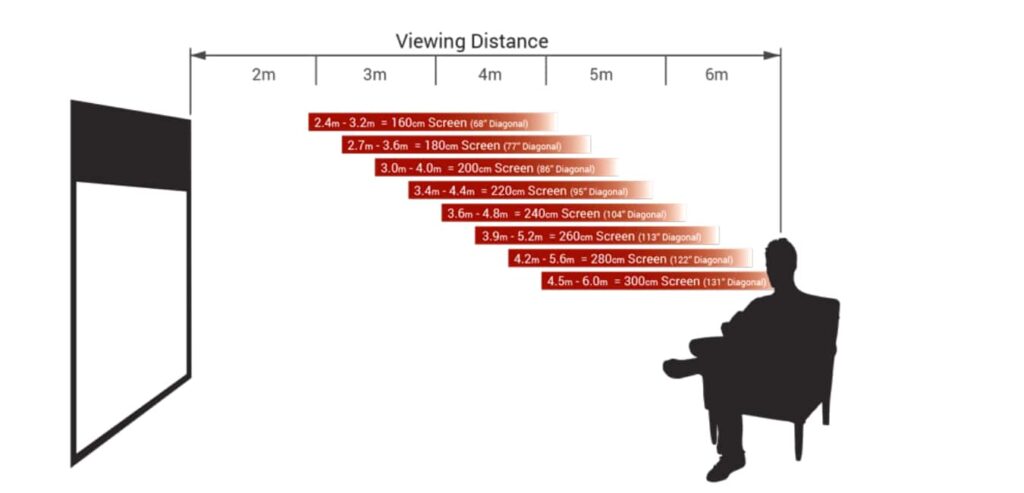
The projection distance of your projector is shown in the manual. If only one number is displayed, e.g. “1.3”, your projector does not have an optical zoom setting. This means that the only way to resize the image is to physically move the projector closer to or further away from the screen.
In this case, you need to be very careful to mount the projector in exactly the right position. You can calculate this location by multiplying the throw distance number (1.3 in this example) by the horizontal length of your screen (not the diagonal).
Throw distance x width of the screen in inches = distance from the screen to a projector lens
How To Install Projector Screen?
The projectors reflect light so the reflected light is less straining, and more pleasant. Projectors produce larger images. Larger images make for easier viewing and less tension. You can install a projector screen at your home easily by taking these steps:
Determine Location
Projector screens offer an extreme (and extremely amazing) home theater experience. First, you have to plan to install the screen in an area that can be easily seen from your existing furniture and where the projector will project well.
It is not recommended to install it over a window that will be exposed to direct sunlight or to use a screen to replace a window covering, as prolonged exposure to intense sunlight can damage the material.
Note that the projectors provide the best image in a dark environment. This way, the best results are always achieved when the sun goes down.
Decide Where To Mount
Now you have to decide where to mount the screen. Make sure there are no obstacles in the wall where you are going to place the screen. A wall-mounted projector can be pulled down and then quickly pulled back against the wall. It would be better to keep the 1.1 / 2” away when positioning the projector screen.
Predrill The Holes
Use a 3/16 bit to drill through the drywall. This step is twofold – it’s always good to pre-drill to make it easier to install the actual screws, and it’s an easy way to tell if you’re driving a bolt.
If you can’t tell whether or not you hit a joist, unfold a Metal wire and stick it in the pre-drilled holes to get a better idea of what you are dealing with.
Hitting the bolts is the best scenario when you’re installing something heavy. If you don’t hit a stud you can use anchor bolts or if the ceiling joists are accessible in the attic you can create a stud by placing a 2×4 board vertically between the joists, under the insulation, right where the pre-drilled holes are.
Once securely installed, the 2×4 board will act as a bar and act as a stable place to hold the display while the weight of the product is distributed.
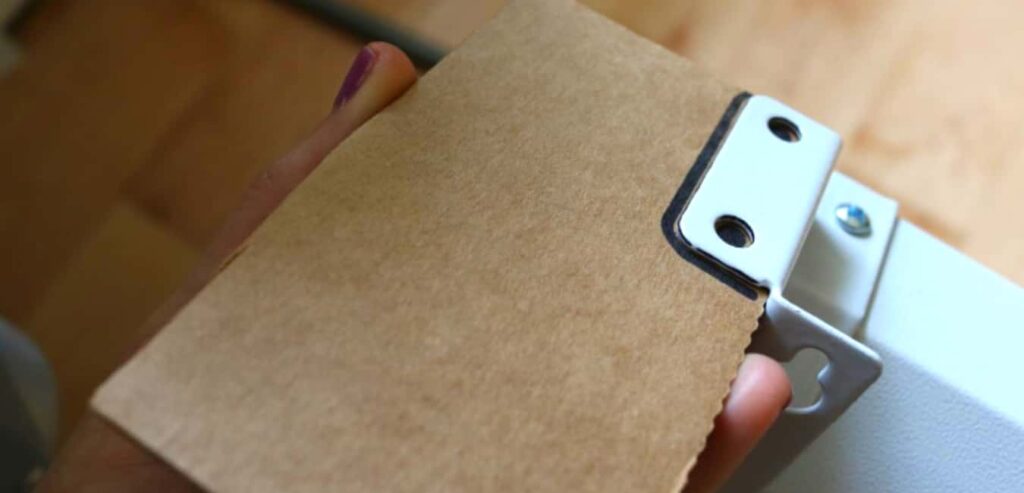
Create Layout
When installing the projector screen, you will need to drill some holes in the wall. What you can do is create a layout using cardboard that will help you pinpoint the location of the screws evenly.
Raise And Install The Screen
You will need a second pair of hands when it comes to installing this heavy screen. Place two stools or ladders under each set of pre-drilled holes and, with your partner, raise the projector screen toward the ceiling.
Use the drill and screws to attach one end of the projector first. Tighten the screws, but not all way. Go to the other end of the projector and tighten these screws, but not all of the ways either.
Alternating between the sides, now tighten the screws until the bracket is flush with the ceiling. Make sure you don’t over-tighten them.
Complete The Task
Tie the string or rope that came with the projector to handle the opening of the screen. Now Enjoy your projector screen in the dark!
How To Mount A Projector Screen Without Drilling?
Drilling holes in the wall is not possible in all situations. Sometimes you may live in a rented house where drilling is not allowed. Even if you are installing a projection screen in your own home, drilling holes in your walls is not a good idea. It can damage your property.
Now we’re going to look at some alternative methods that you can use to mount your projector screen without drilling.
Using Cabinets To Mount Projector Screen
If you do not want to install the projector screen by drilling, you can go for a Cabinet mount. Cabinets are incredible options to mount the projector’s screen. You can hang the projector screen inside or outside the cabinet. The cabinet with a whiteboard is the best option to mount a projector screen without drilling.
Command Hooks
Another easy solution to mounting a projector without drilling is to use command hooks. Using these hooks will not damage your wall and you can always remove them.
Command Hooks are very easy to get hold of and work wonders. Plus, they’re very easy to use and can hold up to 15 pounds. All you have to do is measure the length of the projection screen and position the hooks according to the measurement. You can also use extra hooks if you want extra strength.
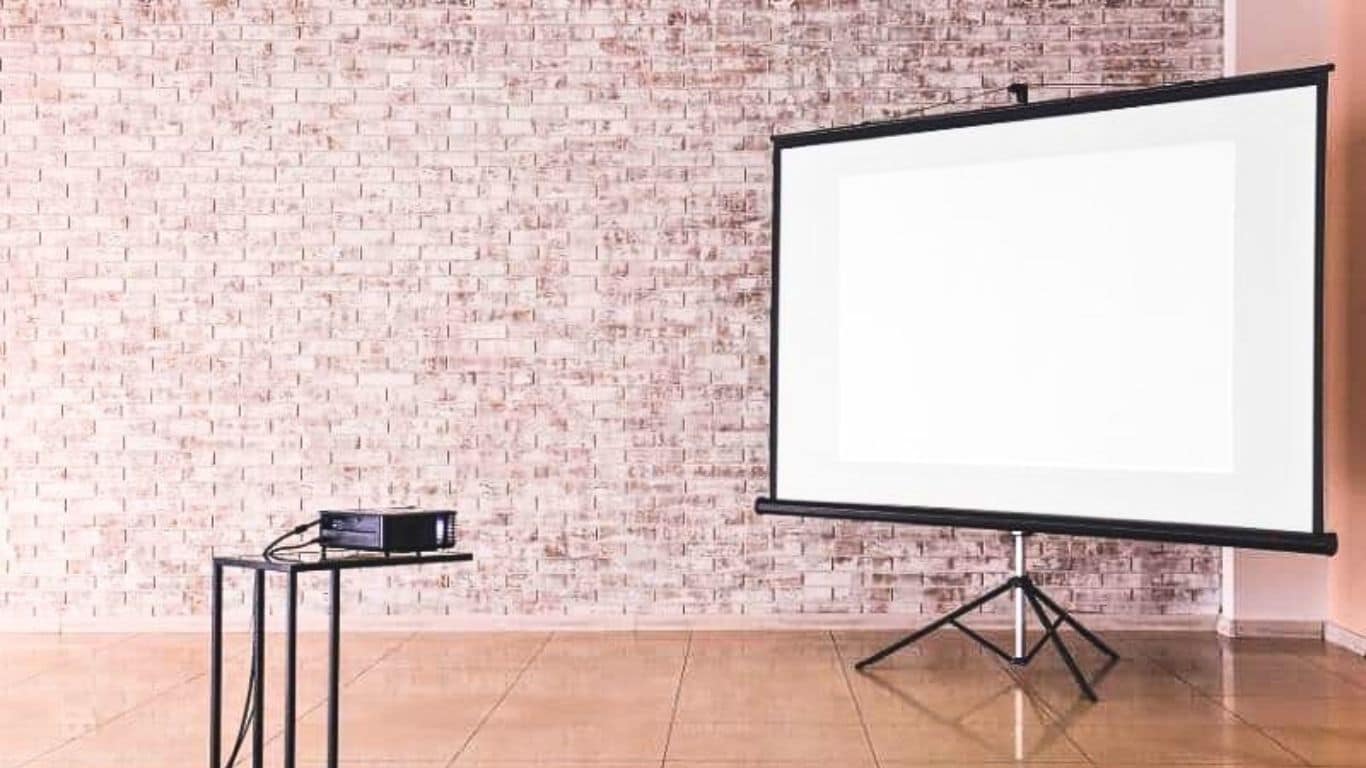
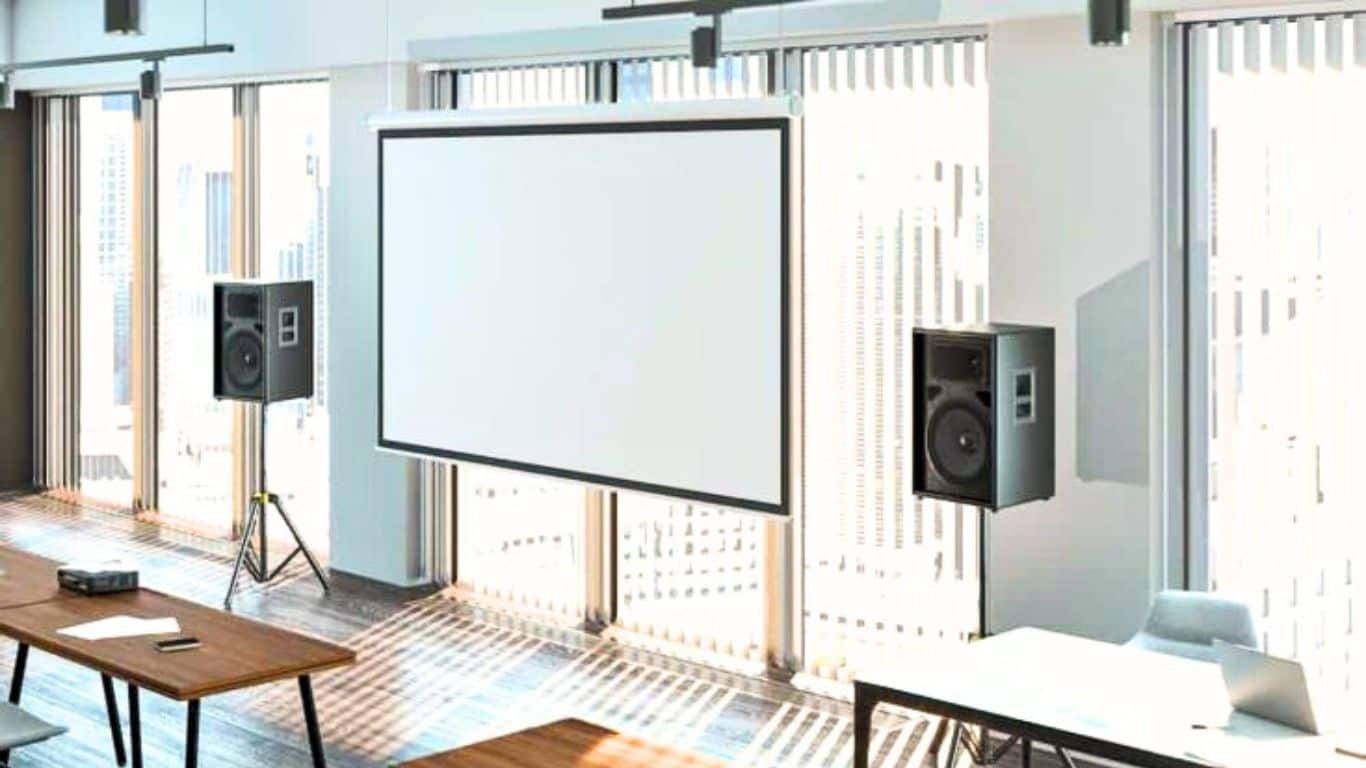
Projector Screen Stand
Another safest option is to use a projector screen stand. Mounting the projector screen using a stand is the most recommended option. No complicated technical installation process is required to use these stands. You can watch your favorite movies or start a presentation or work session from anywhere.
So if you are looking for the best way to mount your screen without drilling, then you can go for a projector screen mount.
Using Hanging Strips
Hanging strips are mostly used to hang paintings, pictures, and mirrors, but can also be used to mount a projection screen without drilling. They are also very inexpensive.
Before attaching the hanging strips, clean the surface with isopropyl alcohol; avoid household cleaners or water as they leave a slippery residue. After preparing the wall, you need to separate the strips by tearing them apart and sticking one half to the wall and the other half to the projection screen.
Press lightly for 30 seconds so that it sticks. To properly attach the strips to the wall, press each strip firmly for about 30 seconds and wait an hour for the glue to stick. Now you can easily connect your projector. They are strong enough to support up to 15 pounds in weight.
How To Hang Projector Screen From Ceiling?
The projector screen is partially delivered and ready for ceiling mounting. How you hang it will determine whether you will need eye bolts or toggle bolts. Regardless of what you use, the preparation of the screen is the same.
- On the top of the showcase, you will find brackets for holding the eye bolts.
- After inserting the screws, attach the hook clips to the eyelet loop.
- Hook clips are usually included with the projector Not hard to find in an electronics store.
When the projector screen is ready, it’s time to start looking at the ceiling. You can have two methods to hang your Projector Screen from the Ceiling:
Using Eyebolt Screws
Use eyebolts whenever possible. It is the fastest and easiest way to hang your projector screen on the ceiling. It only takes two steps.
- Insert the eye bolts into The screws should spin, although you may need to apply some pressure.
- Take the hook straps that you attached to the screen and attach them to the screw on the Make sure the straps are securely attached to both the ceiling screws and the display case.
Some screens come with loops instead of hooks. You can still use this method, just use hook screws instead of eyebolts.
Using Toggle Bolts
There are ups and downs in using toggle screws. The projector screen is more securely attached to the ceiling, but also more difficult to assemble. This is the method, which can take up to two hours, including finding the roof posts.
- You will need to drill a hole in the ceiling large enough for the curved wings of the toggle bolt.
- Remove the wings from the stud and insert it into the ceiling There are screw holes in the hook; this is where the toggle bolt goes.
- With the bolt in the hook, reconnect the Leave some space at the top, about three strands.
- With its wings folded, put the screw in the hole you made in the ceiling.
- Tighten the bolt and hook on the ceiling with a screwdriver and connect the projector It attaches to the hook.
You do get a more secure installation with a toggle bolt. The only problem is the time it takes to hang the screen.
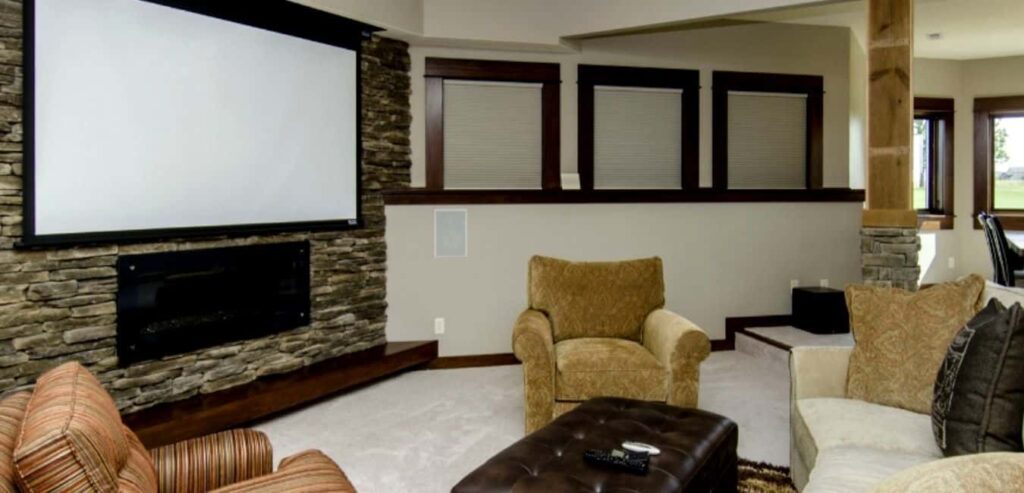
Projector Screen Above The Fireplace
For some, there is no other wall in their family room or study to hang their screen on. Only this point remains on the wall between doors and windows. Others choose the fireplace specifically to create a modern or contemporary aesthetic.
Therefore, successfully installing a projector screen over a fireplace requires more care than installing it in other public areas of your home.
The one problem that would concern most is smoke. Heat would be a concern too, though to a lesser extent. Discoloration on your wall can happen due to smoke on your projection screen. Especially when you are using the screen with the fire on.
It’s a gradual process of course, but over time, the projection screen fabric will no longer be white. At that point, your image will no longer be the best. But, it’s easily resolved by buying a new screen of course.
Well, It’s also safe to put a screen over the fireplace if the temperature at the mounting location doesn’t exceed 104 degrees. You can test this by running your fireplace for several hours and taping a simple thermometer to the wall above.
The best way to mount a Projector screen above the fireplace to get the result you want is to expertise a professional TV installer who will be able to choose the right angle to create an ideal image and permanent mount.
While it’s possible to mount the screen yourself, a DIY approach for something as labor-intensive as mounting a flat screen can be frustrating. Unless you have extensive experience with masonry work, you also run the risk of breaking or damaging the mantle or other components of your fireplace.
How To Install Projector Screen In Your Home – FAQs
Conclusion
I hope you have enjoyed the article and it helps you in installing your screen. Today, with online streaming services presenting new shows and movies every other day, there is no better way to enjoy them than from the comfort of your own home, particularly by way of a home theater system.
With that in mind, you should consider projection for your home theater. You can use these methods and align the projector screen to enjoy your new media room experience!